Hai deciso di cimentarti nell’arte del ricamo ma non sai da dove cominciare? Hai guardato mille video e ti sembra assurdo spendere una fortuna in materiali? Non temere! In questo articolo troverai una lista completa dei materiali più comuni, con una spiegazione del loro utilizzo.
Prima di elencare i materiali, una piccola premessa: è essenziale sedersi in una posizione comoda e lavorare con una buona illuminazione. Ricamare, come cucire, è un’attività che può richiedere molte ore, e proteggere la schiena e la vista è fondamentale.
So che ognuno ha esigenze e metodi diversi, quindi i materiali che troverai potrebbero non essere quelli a cui sei abituato. Detto ciò, io li utilizzo ogni giorno per lavoro e li consiglio, ma scegli sempre ciò che ti è più comodo e con cui lavori meglio.
Passiamo ora alla lista dei materiali indispensabili!
Aghi
Uso principalmente aghi John James o Milward per lavori dettagliati come il punto raso o il punto lungo e corto. Per lavori che richiedono più fili, preferisco gli aghi da ricamo DMC, che hanno una cruna allungata specifica per questa esigenza.
Misure consigliate:
- 10/11: per tessuti leggeri e medi.
- 8/9: per tessuti pesanti come il denim.
Per tessuti elasticizzati come il jersey, molti preferiscono aghi più spessi e con punta arrotondata. Personalmente, continuo a usare aghi sottili perché garantiscono un risultato più preciso e riducono le pieghe nel tessuto.
Aghi più spessi e smussati sono invece ideali per il ricamo su lana, perché non separano le fibre del tessuto.
Ditale
Non smetterò mai di sottolineare quanto sia importante indossare un ditale quando si usa un ago!
Protegge il dito medio, evitando lesioni ai nervi causate dal movimento ripetitivo, e rende la mano più veloce e sicura.
Può sembrare scomodo all’inizio, ma è una delle cose che migliora davvero la qualità del lavoro. Io uso ditali in metallo, ma anche quelli in silicone vanno benissimo. Sconsiglio invece quelli decorativi in ceramica, belli ma poco funzionali.
Suggerimento: vai in merceria e prova il ditale prima di acquistarlo, per essere sicuro della misura. In questo periodo, inoltre, è importante sostenere le piccole mercerie, purtroppo sempre più rare.
Fili
Prediligo i fili DMC o, al massimo, Anchor. Evita i fili sintetici o di bassa qualità: sono meno confortevoli da lavorare e spesso perdono colore nel tempo.
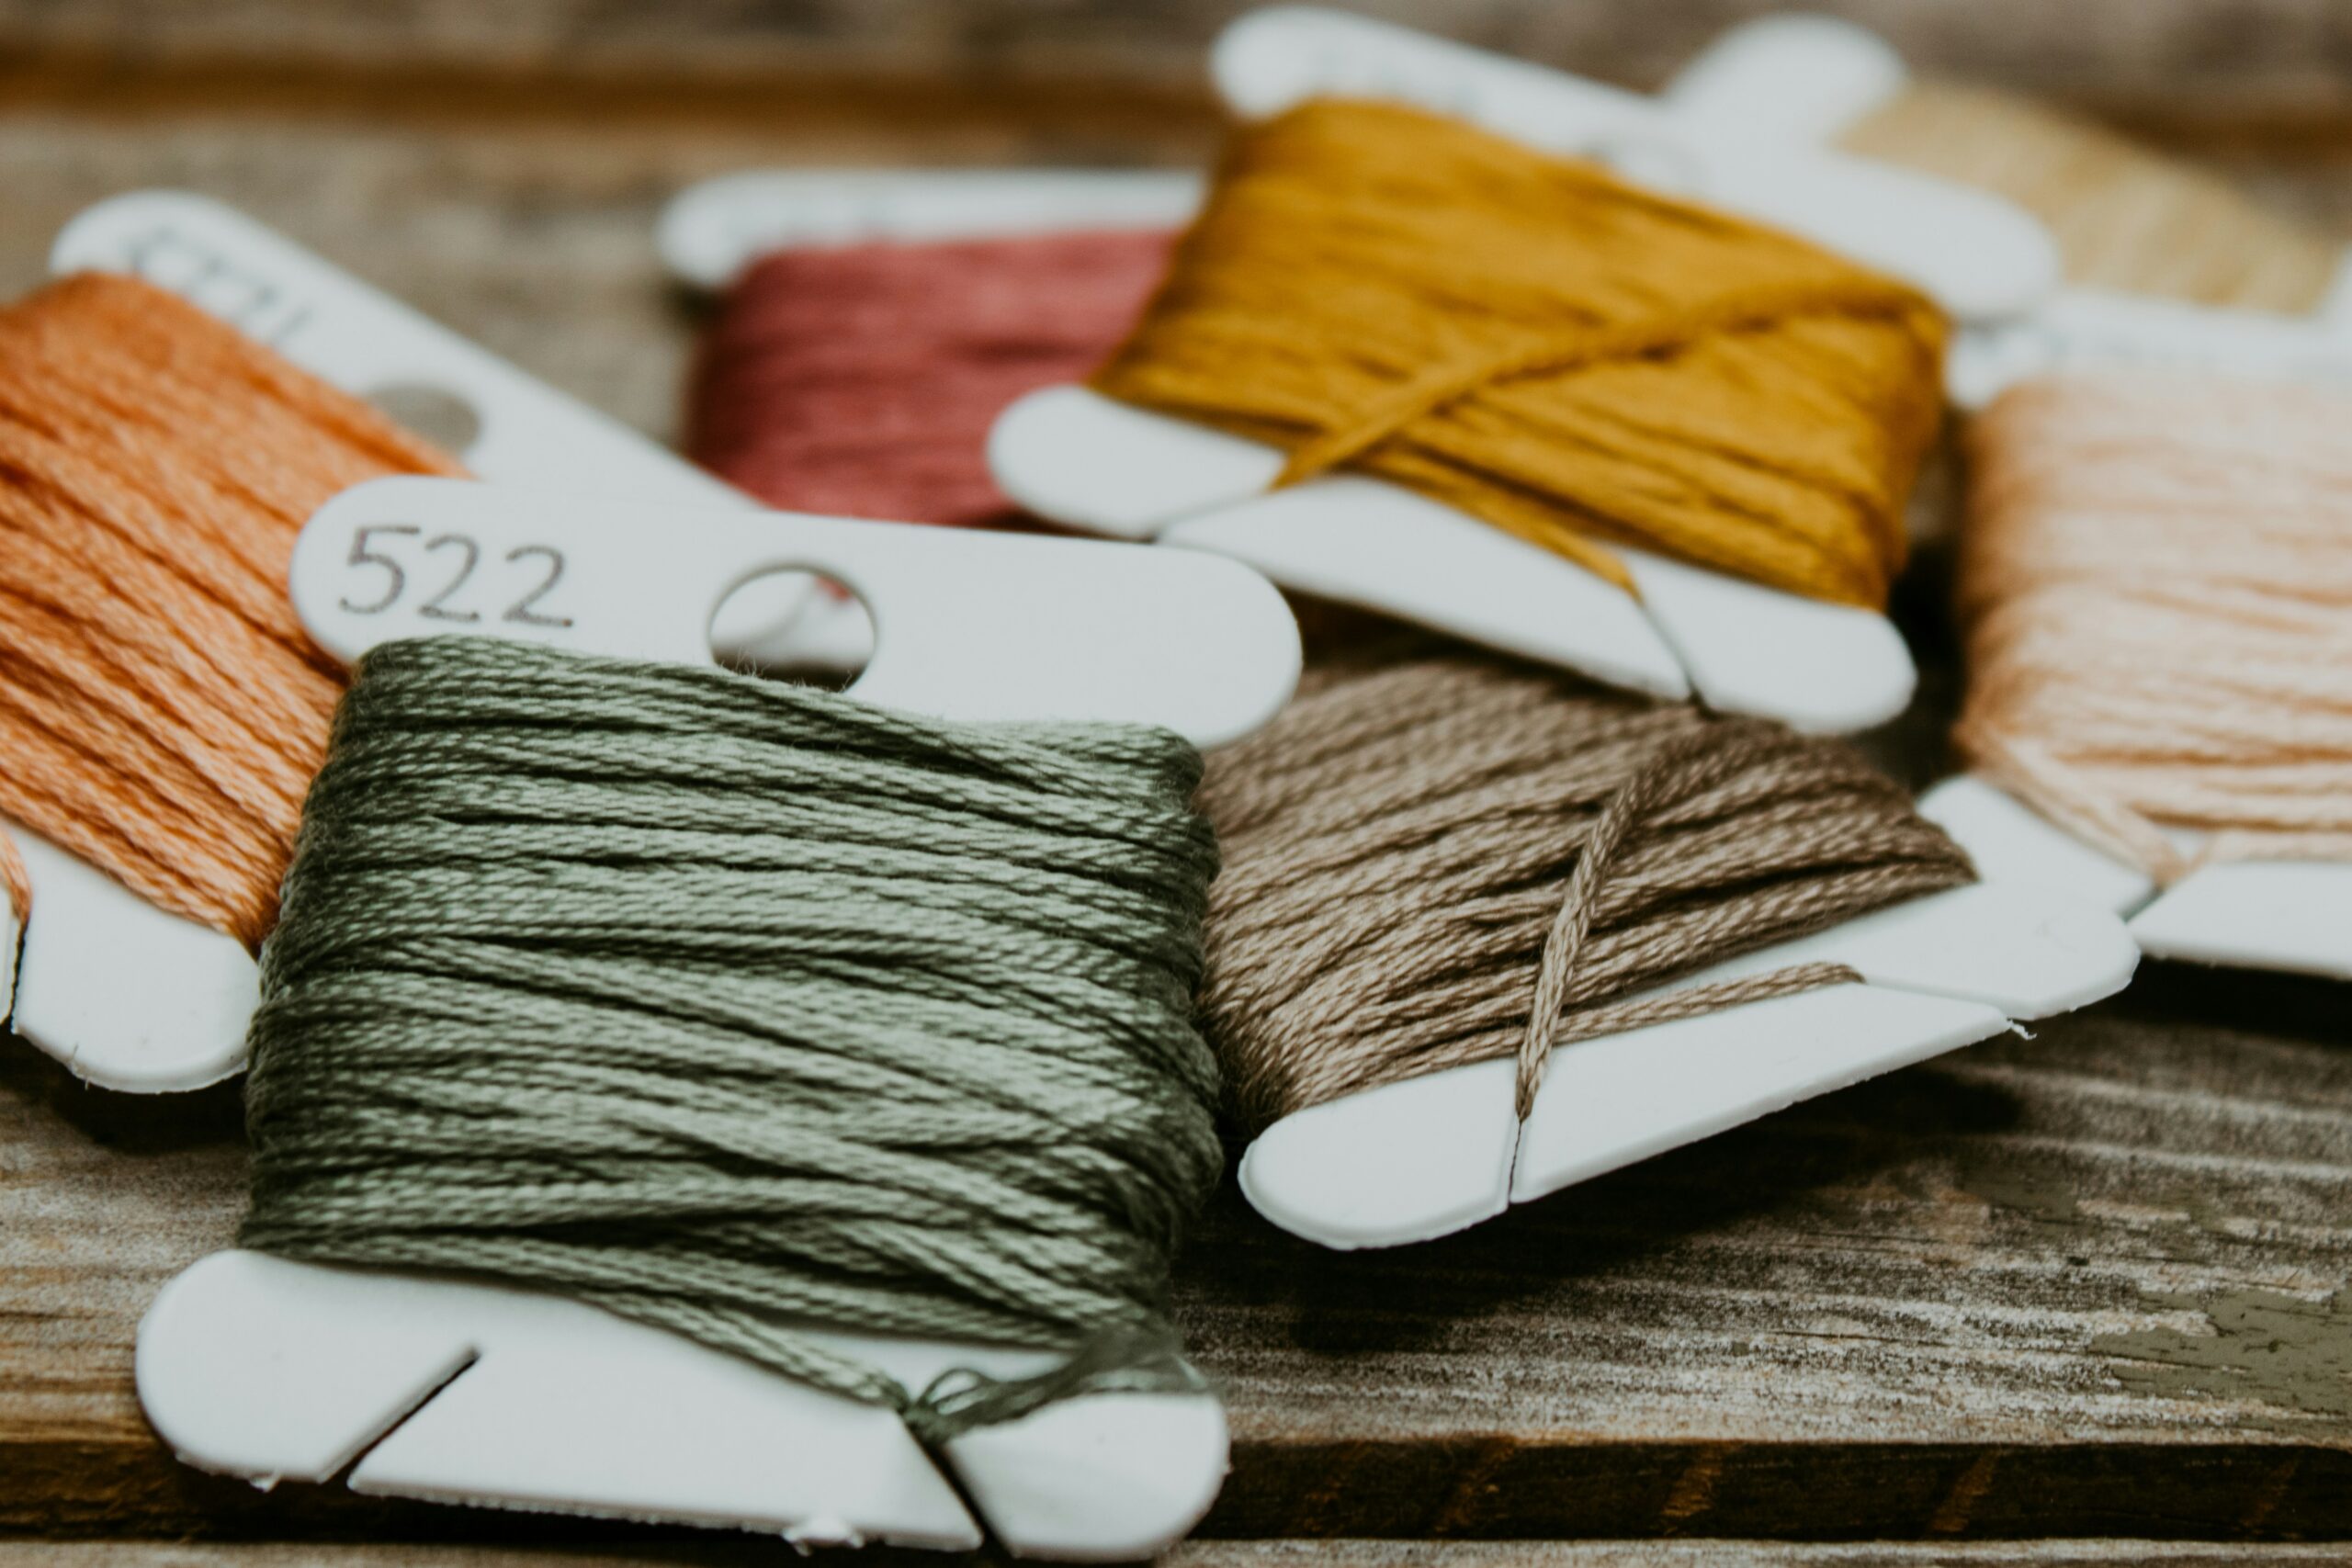
Per i fili DMC muliné, 100% cotone, il colore resta intatto anche dopo molti lavaggi. Quando li usi:
- Estrai tutti i fili necessari dalla matassa in un unico movimento per evitare nodi.
- Organizzali su bobine di plastica per tenerli in ordine e divisi per colore.
Forbici
Le forbici da ricamo devono essere piccole e affilate. Puoi scegliere tra forbici dritte o curve (simili a quelle per unghie). Sconsiglio i tagliafili per chi è alle prime armi, perché la molla potrebbe rendere difficile il controllo.
Nota importante: usa le forbici per tessuto esclusivamente per il tessuto! Tagliare carta o altro materiale le rende rapidamente inutilizzabili.
Telai e supporti
I telai possono essere:
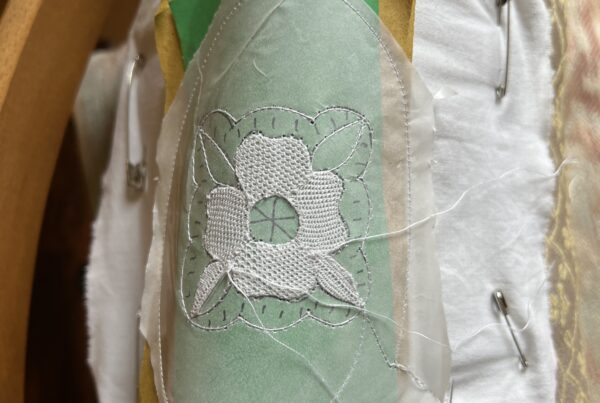
- Fissi: con una base che appoggia sul tavolo e braccia che sostengono il telaio, ideali per ricami complessi come il Luneville o l’alta moda.
- Semi-mobili: telai da ricamo collegati a un supporto regolabile in altezza e inclinazione.
- Portatili: i classici telai in legno con vite o in plastica ad incastro.
Se possibile, investire in un telaio fisso o semi-mobile rende il lavoro più rapido e fluido, poiché permette di usare entrambe le mani. In alternativa, puoi fissare un telaio portatile al tavolo con una pinza da elettricista (trovi tutto in ferramenta!).
Lenti per ricamo
Per tecniche molto dettagliate come il punto raso o l’Hardanger, una lente da ricamo può salvare la vista. Queste lenti, di circa 12-15 cm di diametro, spesso hanno una luce LED integrata per migliorare la visibilità.
Ecco tutto ciò che ti serve per iniziare la tua avventura nel mondo del ricamo. Buon lavoro e, soprattutto, buon divertimento!


